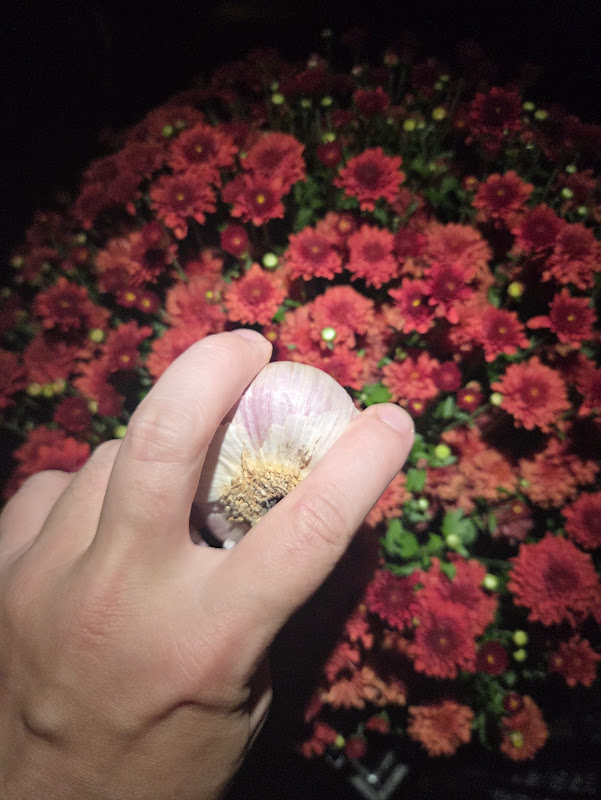
Garlic is set to be delivered this week to those lucky enough to have ordered in time! I’ve received lots of late requests, which due to the way the supply variations work, I simply cannot fulfill. Sorry about that 🙁 – Please make sure to order by my advertised deadline in 2027! 🙂
This is my guide specifically written for growing garlic in Chatham-Kent, Windsor-Essex, Sarnia-Lambton, and London-Middlesex regions! Tee’s Plants offers gardening services to help manage special garden projects in your region. Reach out to order@teesplants.com if you need help.
Protect Your Investment
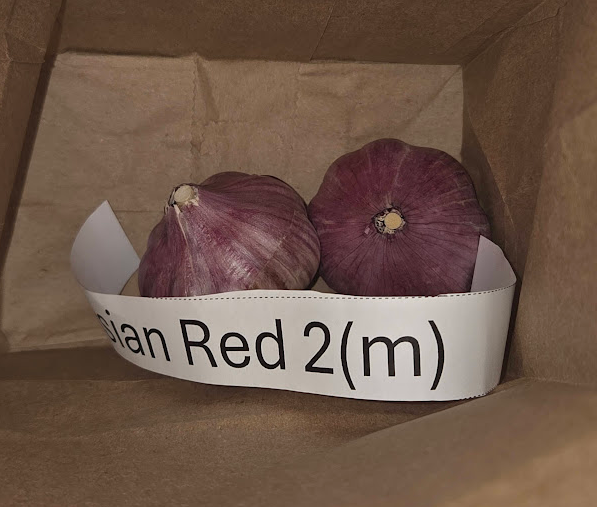
Store whole seed garlic bulbs in a cool, dry, dark location with good airflow at roughly 10°C to 15°C (50°F to 60°F) and 50% to 60% relative humidity. A mesh bag, open cardboard box, or the included paper bag in a dark pantry or basement works best.
Avoid refrigerating seed garlic, as temperatures below 10°C mimic winter and can trigger premature sprouting or early bulbing. Keep the bulbs fully intact with their protective wrappers on, and only separate them into individual cloves within 24 to 48 hours of planting so the root plates do not dry out.
Planting:
Plant garlic cloves in the fall roughly 4 to 6 weeks before your ground freezes, choosing a sunny spot with rich, loose, well-draining soil.
October 15th to December 1st are good planting targets for our region. I plant between Halloween and November 10th in Zone 6b. You can often get away with very late plantings, as long as the ground isn’t icy yet.
Separate the bulbs into cloves just before planting, keeping the papery skins intact. Set each clove upright with the pointed tip facing up and the flat root plate down, buried 2 inches (5 cm) deep and spaced 6 inches (15 cm) apart. I add Gaia Green 4-4-4 mixed into the soil surrounding the bulb at around 3/4 to 1 tbsp per clove.
Water the bed thoroughly after planting, then top it with 4 to 6 inches (10 to 15 cm) of clean straw or shredded leaves to insulate the cloves through the winter. (Technically it is optional to mulch/insulate, I’ve never lost a single clove to the freezing around here).
Growing On
Once spring is here, you MUST broadcast a high-nitrogen fertilizer. An easily available option is the miracle gro “all purpose” slow release formula. Broadcast it to its full strength directions for garlic. Garlic is essentially extremely hungry grass!
Incorporate extra liquid fertilizer feedings when weather is hot, making sure to maintain good moisture levels consistently. The seed garlic you received was grown on irrigation.
You must ensure your garlic remains perfectly weeded. Garlic is extremely uncompetitive, and will get choked out very quickly by common weeds. I use a sharpened hoe which makes it very easy to chop them out, sparing the garlic carefully.
Don’t forget to harvest your garlic scapes, the silly looking flowers that appear in the summer. People love to eat them in soups, but you don’t want your garlic investing energy into them for very long. Remove them before they get large.
Harvest
Harvest your garlic in mid to late summer, typically between late June and late July, once the bottom three to four leaves have died back and turned brown while the top four to five leaves are still green. Avoid waiting until the entire plant turns brown, because each green leaf corresponds to an intact layer of protective paper wrap, and waiting too long causes the bulbs to split open and rot underground.
Instead of pulling the stems, gently loosen the soil roughly 6 inches away from the plant with a garden fork to pry the bulbs up from beneath the root plate. Once lifted, gently brush off the excess dry dirt by hand, leaving the stalks, roots, and papery wrappers completely intact without washing them in water.
Don’t Skip Curing
Cure the harvested garlic immediately by hanging the whole plants in bundles or spreading them out in a single layer on slatted tables or screens in a dry, shaded, well-ventilated area for 2 to 4 weeks. Keep them out of direct sunlight so the bulbs do not bake or spoil while the wrappers dry completely.
Once the roots feel brittle and the main stalk is bone-dry all the way to the center of the bulb, cut the roots back to roughly ¼ inch (0.5 cm) and trim the stems down to 1 to 2 inches (2.5 to 5 cm) above the bulb. Brush away any remaining dry, loose dirt from the outer wrappers, taking care not to strip off too many layers of protective papery skin.
Place the trimmed bulbs into mesh produce bags, wire baskets, or open slatted crates to maximize airflow. Keep them in a dark, cool, dry space with good air movement at roughly 10°C to 15°C (50°F to 60°F) and 50% to 60% relative humidity, such as an unheated basement or cool pantry. Never store cured garlic in the refrigerator, because the humidity and temperatures below 10°C trigger the bulbs to break dormancy and sprout.
Grade Your Garlic
Don’t forget to save your LARGEST bulbs to plant next fall, and then you can order different ones from Tee’s Plants to try in 2028!
For more information on managing garlic, I follow the Ontario garlic production guide.
Thank you for supporting Tee’s Plants!
Need help in your garden? Consider hiring Tee’s Plants. Tee’s Plants can complete special projects for you, like planting garlic at the same time as fancy daffodils! It’s always necessary to plan ahead, so reach out early.