Hanging baskets are a beautiful part of the summer. Whether they’re hanging in your city’s downtown or over your porch, they always deliver a punch of colour.
They’re also quite expensive to buy in-season, especially when they’re purchased from somewhere convenient like a grocery store. These days, seeing prices of up to $75+ per planter is almost typical, particularly for the large ones. Reasonably so, since some of the plants used in them can be quite expensive, and the planters require a good degree of time and effort from the growers. Tee’s Plants offers lots of the very same plants (or better) that growers often use for prepared planters. Let’s discuss why you should plant your own baskets, and then introduce a bunch of options that Tee’s Plants offers to get it done. All the combinations and photos you see here are possible with transplants from Tee’s Plants!
Acclimation Issues
Since planters or hanging baskets grown in a greenhouse are grown in a controlled environment, they’re not fully acclimated to your property’s climate when you buy them. They often contain fully matured plants that are occupying most of the container’s medium with a significant root mass. They also have significant water requirements right from the start! These lovely planters are beautiful from the start, right until you get a sunny, hot day and you forget to water them one morning. Goodbye $75 planter!
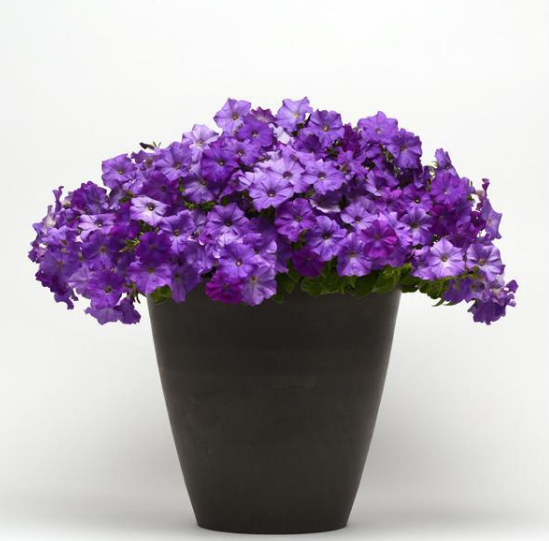
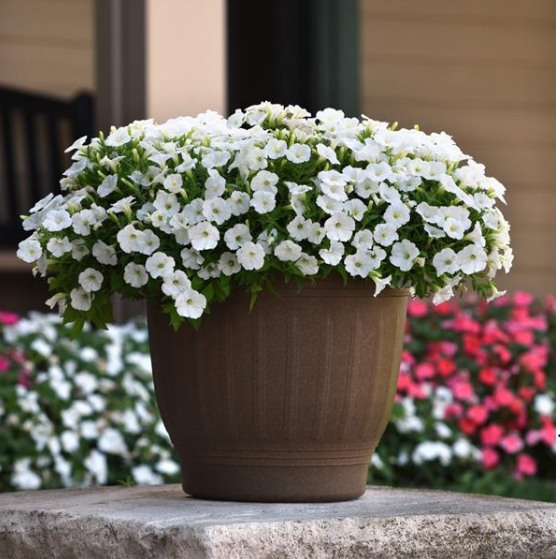
Growing Your Own Can be Better
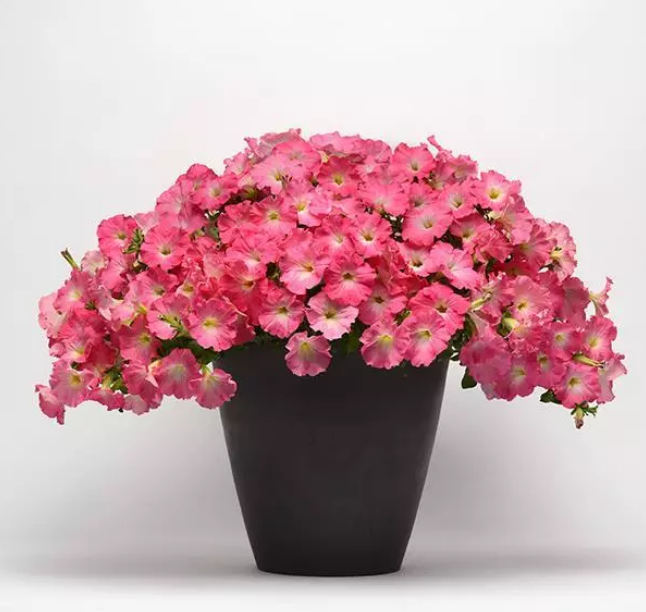
Instead of spending a ton, take advantage of the sun by growing your own. Tee’s Plants has several EASY planter ideas that you can DIY for quite cheap, and I offer all of these varieties! The best part? You can choose the colors you want to build with, instead of picking what someone else chose for you! 3 yellow pansies surrounding 1 big blue one? Great! I’m sure that will be awesome! Check out a bunch of combos below and see how easy it is to assemble a planter. All of these plants are available at Tee’s Plants in the spring, but you can find many at other nurseries. Tee’s Plants greatly appreciates your purchases to help support several Friends of the Bees projects.
Wave Petunia DIY Planters = $5+
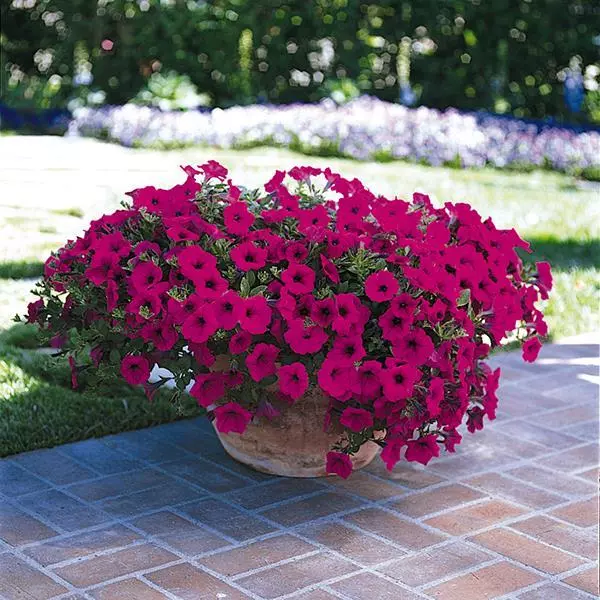
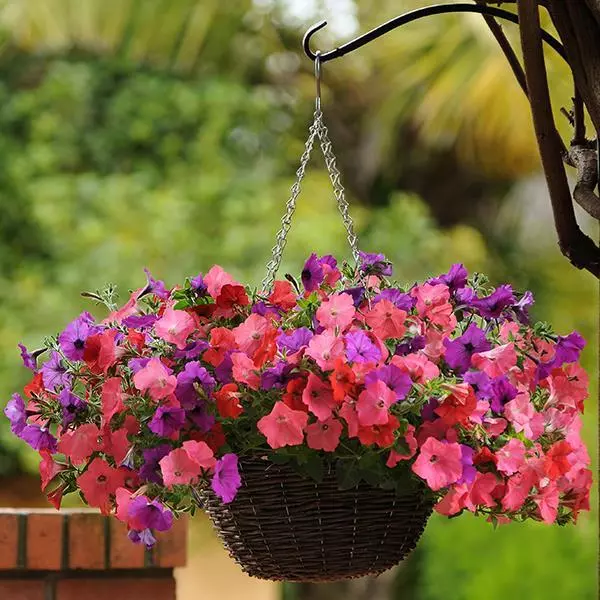
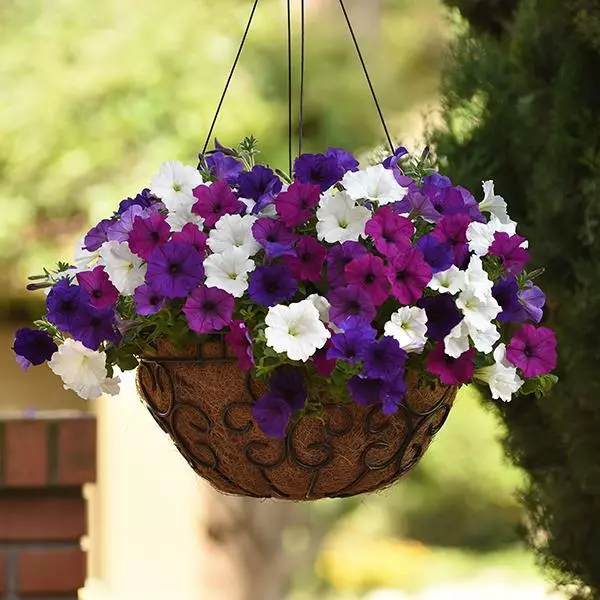
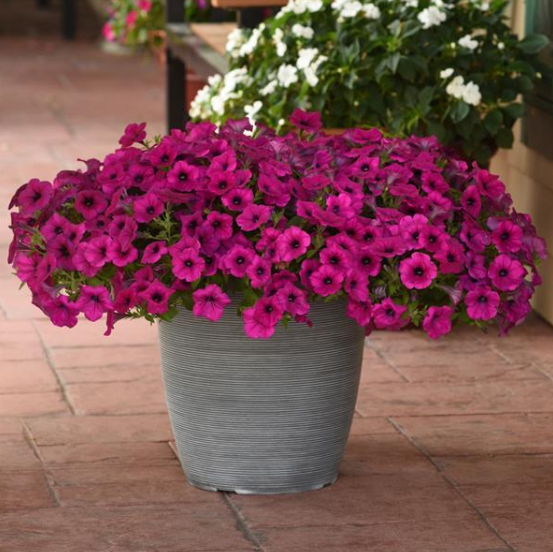
Several colors and types of Wave petunias are available at Tee’s Plants. They’re probably the #1 hanging basket flower in my opinion. They like full sun, so if you have a shady spot in your garden don’t put these there!
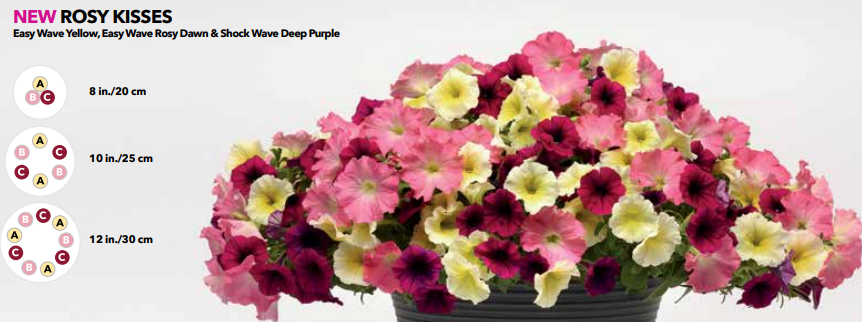
Petunias are not all the same, that’s for sure. Wave petunias follow a simple schematic to help inform you of the plant’s capabilities. Generally, those are:
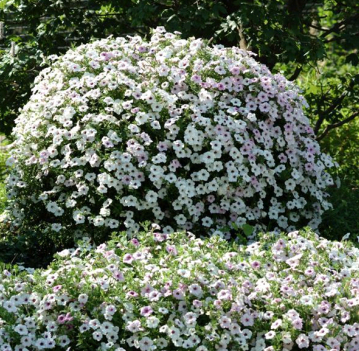
Easy Wave have a bushy, ball appearance. A typical mounding growth habit for a petunia. They won’t spread super far, but still produce lovely filled out plants.
Tidal Wave is a spreading petunia. This one will even grow up a small trellis with a bit of training. Tidal Wave petunias have an impressive value, and will provide a small mountain of colour.
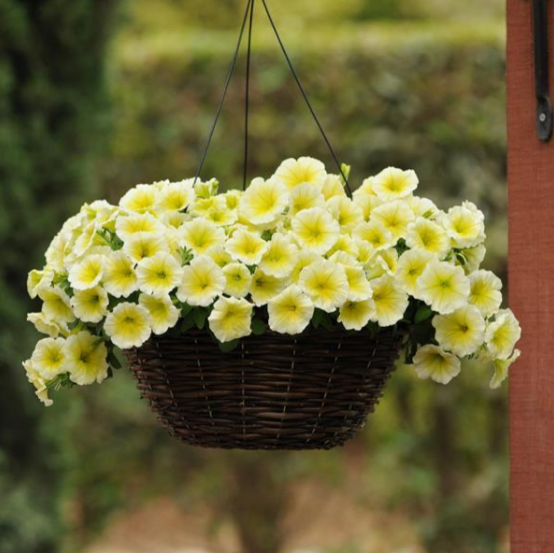
Wave Classic is the original Wave petunia. They provide more of a “spilling” growth habit which is very popular in hanging baskets.
Shock Wave petunias have a similar growth habit to Easy Wave, but feature smaller flowers with stronger petal structure, helping them resist heavy rains. The smaller flowers also provide a unique appearance compared to larger ones.
- 12″ pot or bigger optimally
- 1-3x Plants per Pot: If you can’t water often or on a guaranteed schedule, try to plant only one petunia per pot. If you’re a religious waterer, you can definitely survive with 2-3 plants per pot. If you’re on a budget, you’d be surprised by what 1 plant can achieve, especially a Tidal Wave!
- 1x Plant per Pot: If you use Tidal Wave petunias, using only 1 plant per pot will satisfy a 12″ container quite quickly, so try to use larger pots for combinations of Tidal Wave petunias if that’s your plan. Thank me later!
Wave Fuseable DIY Combos = $10 to $15
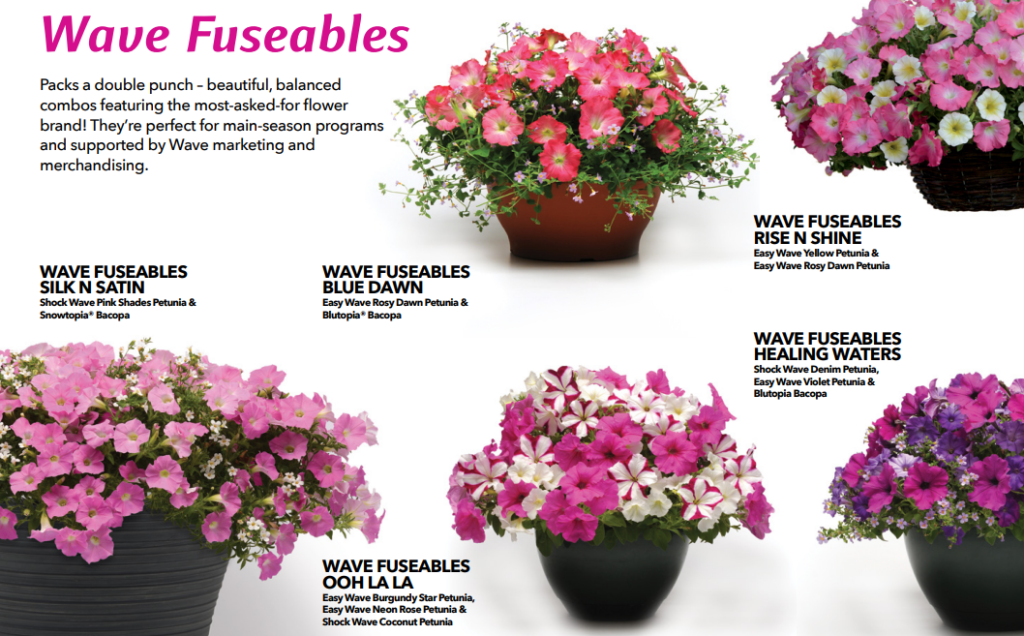
Use simple combinations of Shock Wave, Easy Wave, Bacopa to build your own custom look.
Best planted in full sun. Unique mix-and-match combos are as easy as it gets! Shock Wave, Easy Wave, and selected Bacopas grow very well together!
- 12″ pots (or larger) are recommended for these beauties.
Beacon Impatiens DIY Pots $6-$9
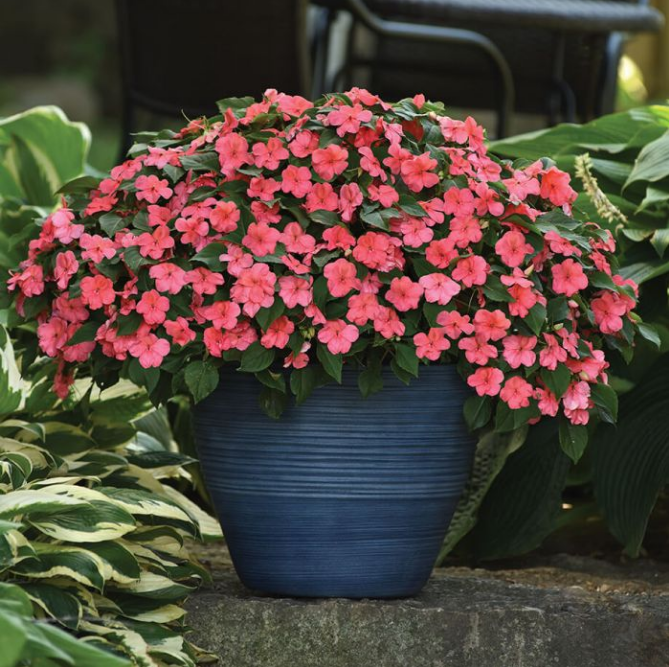
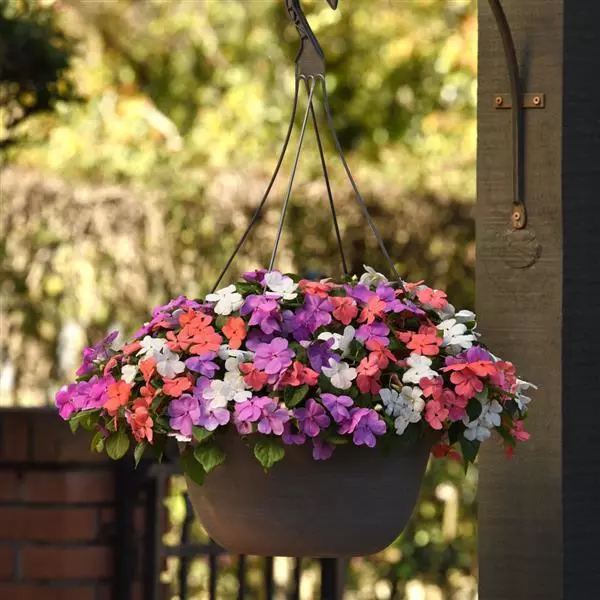
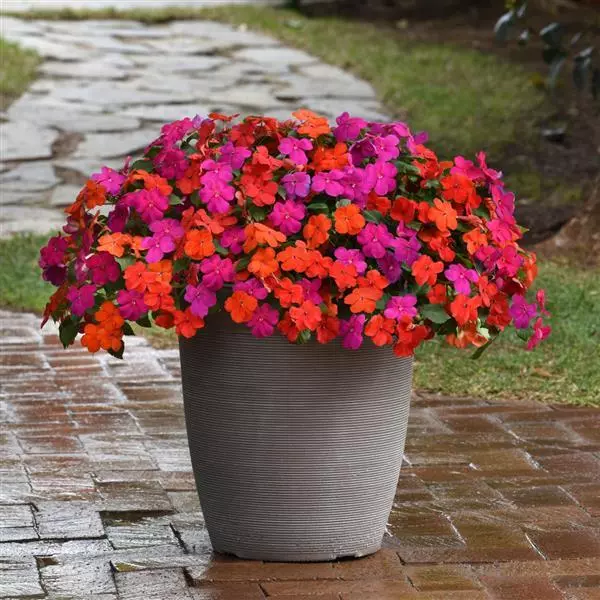
A very popular flower from Tee’s Plants. With lots of colors to pick from, they’re a popular ornamental flower selected for their ability to deliver high-quality color in the shade, like a north-facing balcony or porch. They can also tolerate partial sun. These impatiens have been bred with resistance to impatiens powdery mildew, allowing them to be re-introduced into the ornamental market over the past few years.
- 10″ pot or bigger optimally.
- 2x-3x Impatiens. Tee’s Plants sells larger impatiens plugs than most, and they’ll be winning over your neighbors compliments by July.
- You can also easily plant just 1 impatiens per pot which produces a rather neat appearance. This will work best in protected shady areas like under a porch where it won’t get too windy. If you do place it somewhere less protected, make sure to keep an eye on the moisture in the pot, since an impatiens can quickly become top heavy! They store a lot of water and will catch the wind like a lovely kite made of flowers if the pot dries out!
Premium Sun Coleus $5 to $10
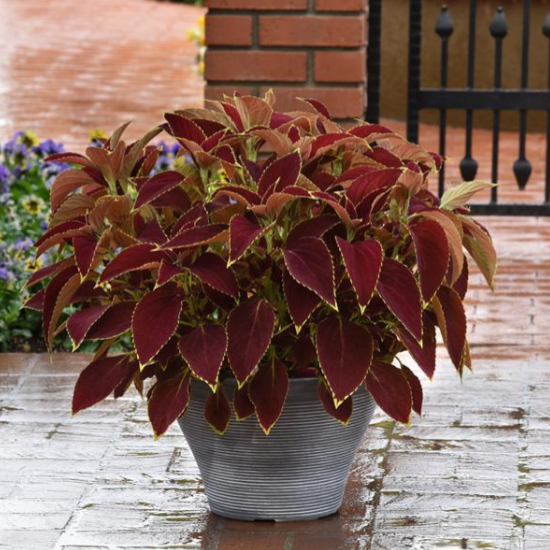
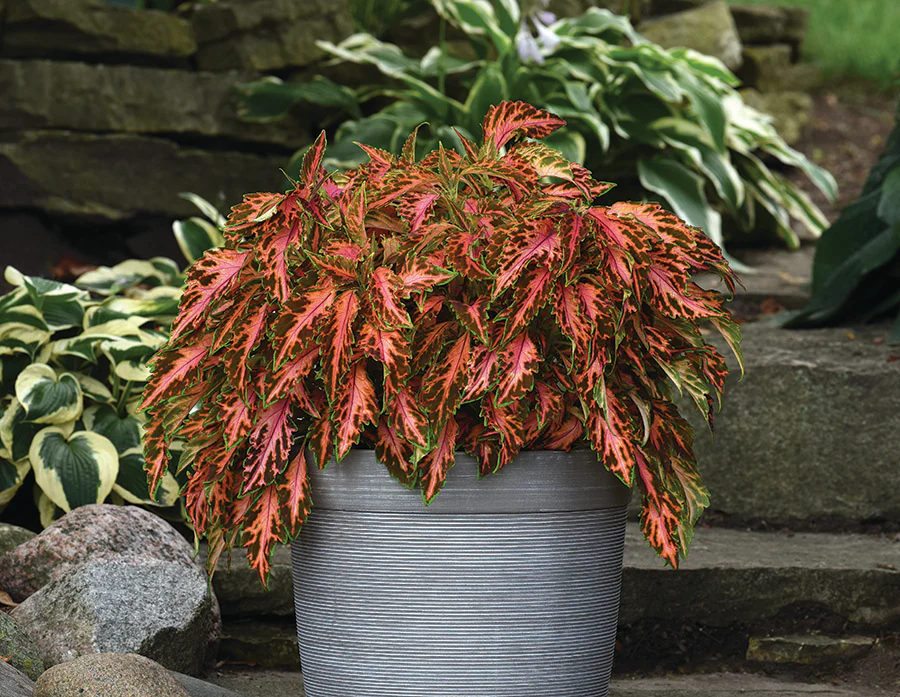
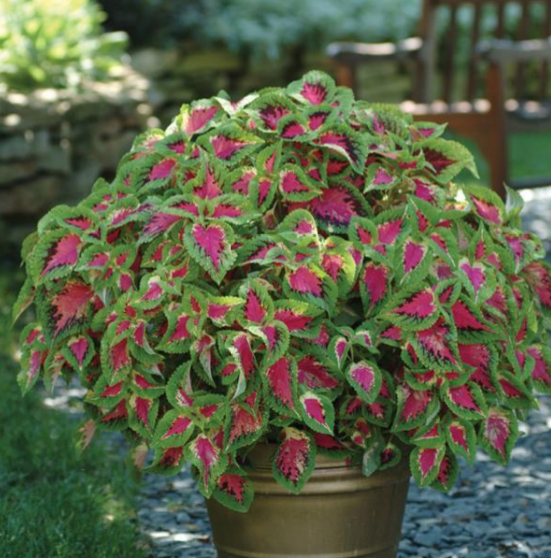
Tee’s Plants customers love the awesome selection of coleus. Check out a few of these top performing varieties for your pots!
- 10″ or larger, but don’t let them dry out, especially in the sun! Use a larger pot if you think you’ll possibly miss waterings.
- Can be combined with other sun coleus, or other partial-sun loving plants like the Solarscape impatiens.
Bacopa DIY Basket $5-$10
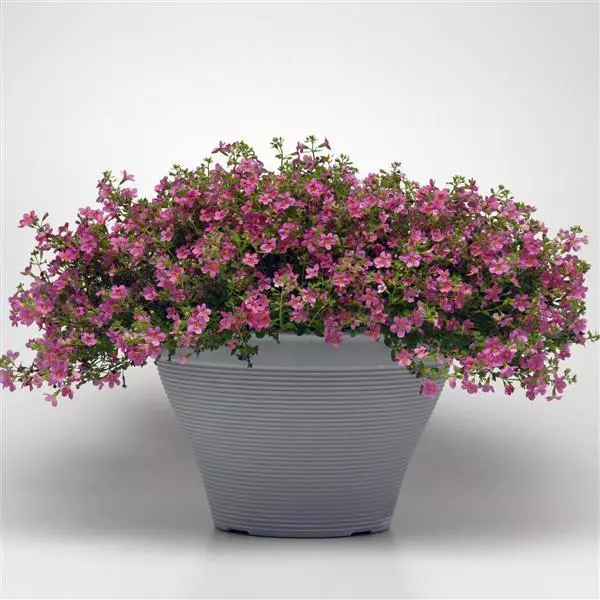
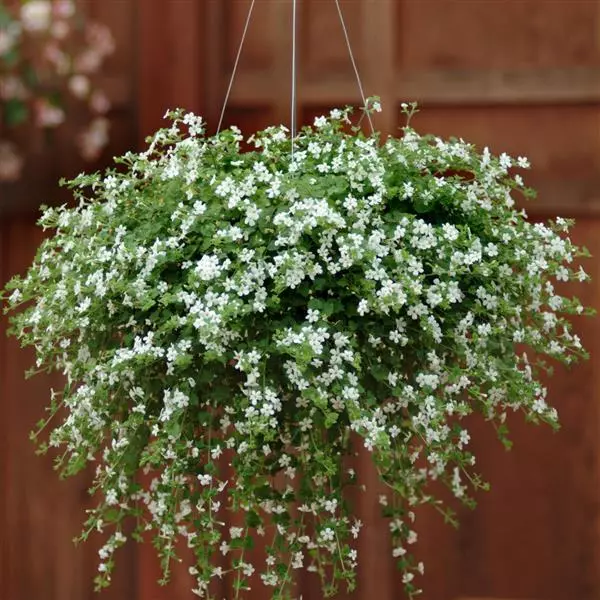
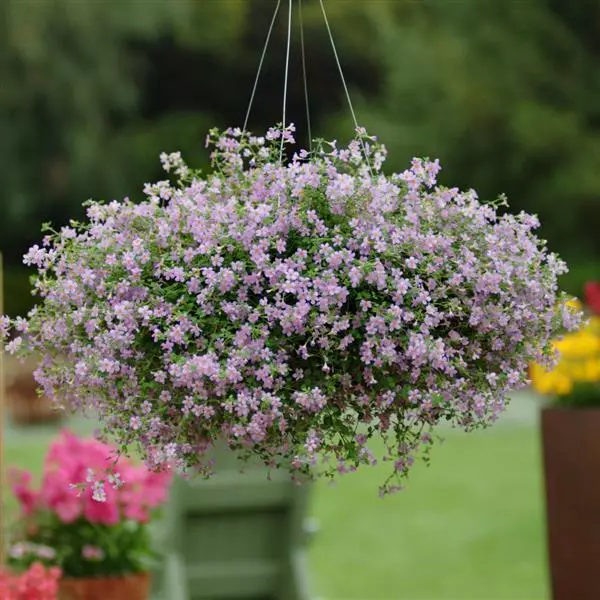
Cute flowers that have an elegant cascade. Grows best in full sun, though they can do fine with a bit of shade. Don’t let them dry out in the heat!
- 10″ or larger pots are recommended, only 1-2 bacopa transplants are needed, but adding more according to the pot size will provide a fuller look.
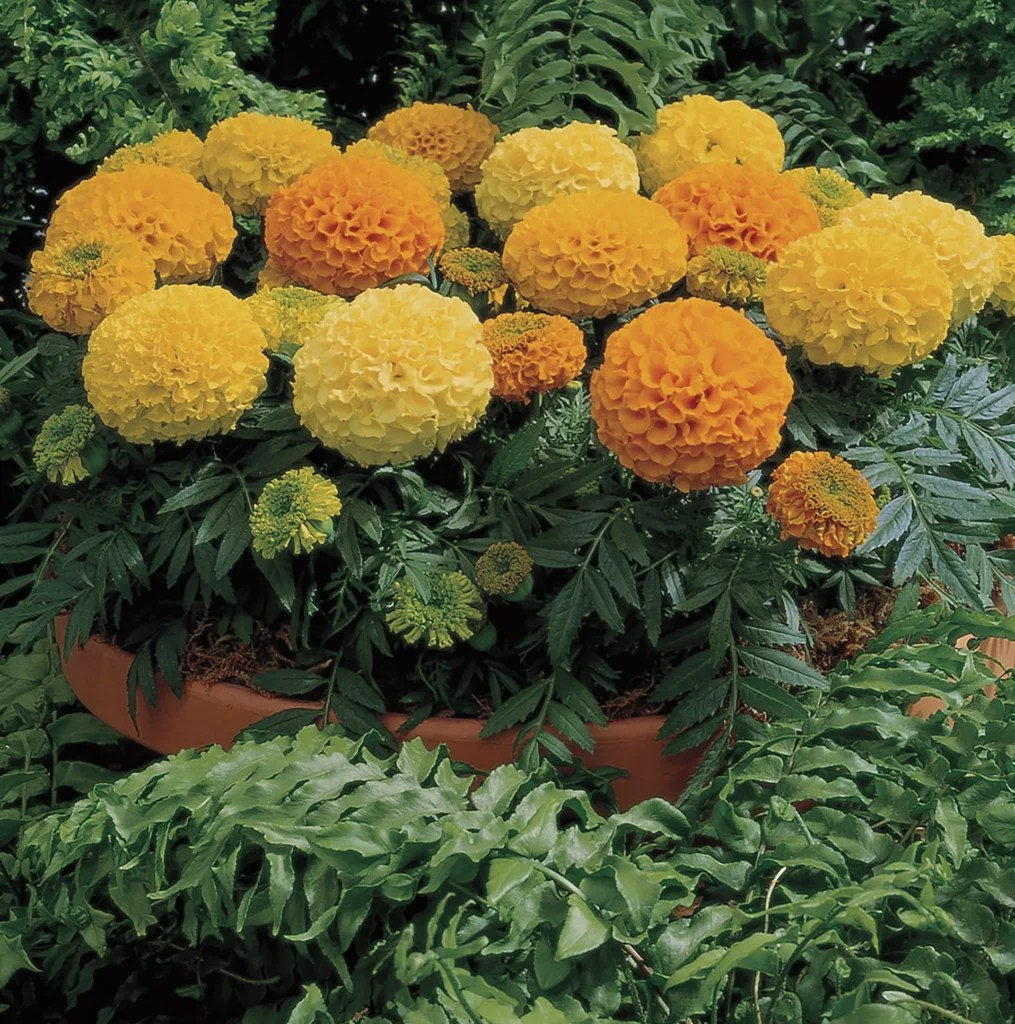
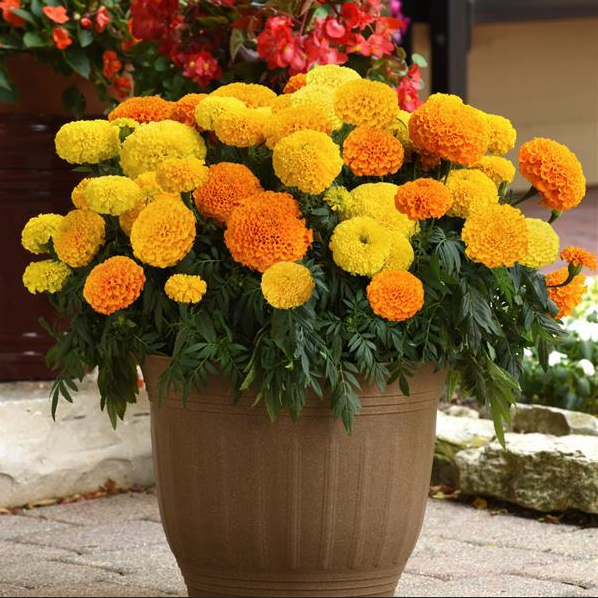
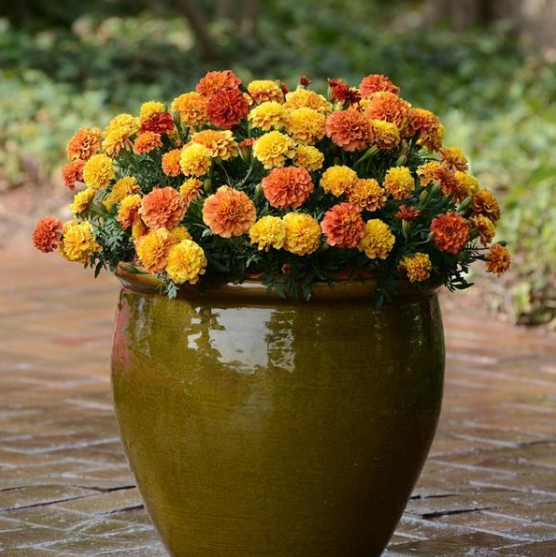
Marigold DIY Pot $4 to $15
Marigolds are a super simple option that look great all the way until first frost, and even a little while after! You can choose from a few different ideas, starting from a 10″ pot and up!
- 12″ pots might be the best starting point, use larger pots for more or larger marigolds. Marigolds like Big Duck Orange do great in larger pots with room to grow, and will provide a unique look with only one plant.
- Use 1-3 marigolds per container, depending on the type of plant you choose. Larger pots can handle more plants, and can also accommodate for larger and taller plants.
Alyssum DIY Pot $3 to $9
Small trailing flowers that are great for pollinators. Comes in purples, pinks, and whites. Does well in full or partial sun, and smells great!
- 10″ pot or bigger optimally, don’t let them dry out!
- 1x-3x Alyssum per pot. Tee’s Plants alyssum come with several plants per pot, so if you wanted to achieve the ultimate value you could break apart our alyssum transplants early in the season, and plant them as you please!
How to Prepare the Planters
You’re going to need a few things to keep your planters healthy and popping with colour.
- Potting mix – Many potting mixes will work well. Promix, and Miracle Gro soils are commonly available names in Ontario, and will work great for most planters and baskets. I use both Promix HP and Promix All-Purpose that comes in the large compressed bales. They’re worth the investment if you use a lot of potting mix! Make sure you don’t use products labeled as “top soil”, or other regular garden soil like Black Earth. These products are too heavy and won’t hold water for your planters effectively for your plants.
- Container – I recommend 12″ containers as a safe minimum for outdoor plants. Consider using a larger pot if you can’t water on a guaranteed schedule, or if you plan to create combinations of 3 or more plants. It’s no fun to lose an entire planter when you forget to water a single day, so don’t plant too many plants in a small pot!
- Fertilizers – I recommend you use two kinds, but you can get by with either one by themselves.
- Slow Release Bloom – Something like Miracle-Gro Shake n’ Feed Ultra Bloom, which is a granular product. You can consider skipping this if your purchased potting mix comes loaded with fertilizer already (many do), but I still use some according to the “top dressing” instructions included on the container.
- Powder to Liquid formula – Something like Miracle-Gro’s 15-30-15 or 20-20-20 powder, which is a rather economical choice especially if you can find it on sale. You should probably have something like this on hand for your garden regardless, since it is a very versatile product! Perhaps you have an organic supplement like an organic liquid. That will work too, but check on the application requirements – they’re often more expensive and require more input for the same volume of water. I should note that I don’t particularly recommend Miracle-Gro products over others, they’re just easy for most people to find. My organic fertilizer of choice (for flowers) is Gaia Green’s bloom formula, but it’s quite expensive comparatively and doesn’t really have an instantaneous effect on plants.
Building the Planters to Survive the Heat
- Take your chosen container (larger than 12″ in diameter), and fill it about 2/3 of the way with your quality potting mix.
- Add some slow release fertilizer granules according to the instructions.
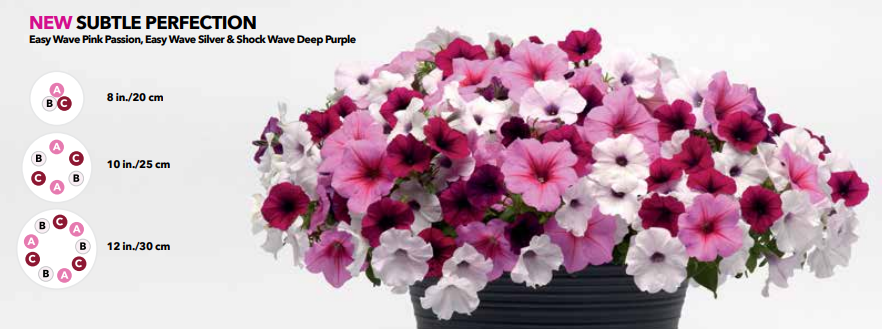
Don’t use too much. Mix it into the top inch or so of soil to reduce direct contact with the roots you’re about to introduce. - Determine how deep you need to dig to accommodate for your transplants. Aim for the soil level of your planter to be around 1″ below the planter rim. Gently dig shallow holes at the determined depth and place your transplants into them. Make sure to not plant your transplants too close to the wall of the pot – especially for something like a Wave petunia. Doing so will cause it to spread unevenly, so try to keep your split mid-way from the center to the edge. This is less important when you’re planting very large planters with numerous plants. Check out the Wave petunia example below, for example. Notice how the bigger the planter, the closer to the edge they recommend. Remember, you don’t need as many plans per pot as recommended in the graphic below – just a bit of patience.
- Add your potting mix to level out the planter, until filled to around 1″ below the planter rim, gently pressing making sure there are no air pockets around the transplants.
- Water gently, avoid wetting the plants if possible. I often like to include an initial feeding with a diluted liquid product.
- Fertilize with Water Soluble fertilizer (like the 15-30-15 mentioned) at 1/2 to 2/3 of the recommended strength every 2 weeks the entire summer. Set a calendar reminder or pick a day of the week to remember, like every other Tuesday. This is one my #1 recommendations for success!
- Add slow release fertilizer again in August, this will nourish your plants with essential elements for their final stretch Frost. You can start to decrease the water soluble fertilizer applications if you’d like in October.
All in, you’re probably looking at less than half of the cost of a prepared planter. And you get to say you made it! There are lots of other easy planters you can do. Marigolds planters are a popular economical classic, too.